Showing posts with label DIY wedding. Show all posts

Monday, August 12, 2013

CJC Wedding and Event Decor Rental

We're excited to share the news that Carver Junk Company will now be offering decor rental for weddings and events! True to our vintage, rustic, repurposed style, our rental items are great options for weddings, baby showers, bridal showers, birthday parties and many other events that have a unique, vintage flair.

Here is a little preview of just a few of our rental items:


Check out the link on the right side of the page (Wedding and Event Rentals) for many more items, quantities, and pricing! And, as always, we are happy to hunt down something special for you that may not be on the list - just ask!

Are there any special items you are looking to rent or purchase for your big day? For some other event? Let us know in the comments below!

Sunday, June 9, 2013

Whimsical Vintage-Inspired Rustic Wedding Invitations

Whimsical Rustic Vintage-Inspired-Wedding Invitations. Whew, that's a mouthful. Perhaps our wedding has an identity crisis??  We prefer to think of it as the perfect eclectic mix of "us"-ness, all rolled into one big event!

The wedding is on a farm, with the ceremony taking place outside under a big tree, that will be backed with flag banners (or, bunting, as Etsy calls them). They'll match the ones you see on the top of the invitation and RSVP card below. They'll be made primarily from vintage fabric. And they are the one common theme running through the entire wedding, along with the colors. The bunting will also hang from the ceiling of the barn, where our reception will take place, seated at tables with handmade paper flowers in vintage white milk-glass vases.

So it breaks down a little like this:
Farm/Barn:  Rustic
Materials/Decor: Vintage
Colors/Decor/"Feeling": Whimsical
All of these combined: Chad and Brandy (that's us)!

Here's a little peek at the invitations and RSVP cards we are sending out. 


We had originally intended to just stack them, stamp them, stuff them, and send them off. But that didn't feel like an exciting enough "first look" into the flavor of our wedding, for those who would be receiving the invites. So, I spiced it up a bit, with some yarn left over from the yarn flowers I'm making (more to come on that another day.


Better, but still kind of boring. The color matched, but it was still missing the "rustic" part of the vibe. I was doing this all on the dining room table, and as I took the photo, I looked at the burlap runner sitting next to the invite, and thought, "huh. that could be cool...." and snipped off a corner. Yep, just cut out a square of the dining room table runner. I'm crazy like that.  {side note, we have more burlap than I know what to do with, I can make another.} I cut it just barely larger than the RSVP card. 


Perfect! I showed Chad, he loved it, and then, being all practical-guy-like, said "that's going to be a lot of work to do for EVERY invitation. Is it really worth it?" Ugh, yes. Of course it is. Plus, my momma is going to help stuff the invitations, and she won't mind. 

But I did decide that I needed a way to mass-produce the different pieces. Invitations, check. Smartpress.com mass-produced those for us. We <3 them. Plus, they are local - right in our backyard! {Chaska, MN}


I took the perfect length I'd already cut, and walked around the dining room until I could find something that was the same length as that single piece. I discovered that if I wrapped it around the top portion of the chair, exactly one time around was the same length. So I went to town! I wrapped that whole skein of yarn around the back of the chair, counting for a while until my attention span gave out, until it was approximately 150 turns around the chair. Then I just cut the whole thing in one spot. Voila! ALL of my strings cut at once. See, Chad? It won't be so hard, after all!


Ramsey couldn't figure out what the heck was going on. And how was that ball of string moving all by itself?! Unfortunately, she wasn't much help.


But check this out! Remember the Sola Flower Pomander Ball we posted last week? Check out how the colors match! {look at the oranges and pinks in the little flags below - not the yarn. Fun!}


So there it is! My favorite part?  The cheeky comment at the bottom of the RSVP Card that says, "RSVP by August 1st, or bring a sandwich and a lawn chair."  Haha! And we mean it. 

Oh, P.S. Smartpress.com did our printing, but we got the original templates for our Save the Dates, Invitations, and RSVP cards from Weddingchicks.com. They have some awesome free template downloads - in fact, you can type the info right into their website, and they give you a finished file! We loved the basis of the templates, but wanted to customize our wording a bit more, change up some fonts, etc - and Chad's a photoshop wizard. You won't get exactly what you see here off Weddingchicks.com, but they definitely are a great budget {ie, free} place to start!!

Sunday, May 19, 2013

DIY Wedding Decor: Sola Wood Flower Pomander Balls


{Update: we are thrilled to be featured on the WeddingBee boards!}

Flowers are expensive. Ok, now I'll tell you something you don't know. Sola wood flowers are not expensive.

I'll tell you a few other things I've learned recently:  Sola wood flowers are actually made of wood from tapioca plants. It's like a really thin version of balsa wood - made into FLOWERS! And they look incredibly realistic.

My discovery path looked a little like this: Pinterest > Etsy > Google > Saveoncrafts.com > Pinterest > theknot.com.

Here's a little tutorial on how to make your own sola flower pomanders! They, and these instructions, could be used to make so many different decor items. I can't wait to search out and DIY some other creative ideas for them!

1.    I purchased hundreds of sola wood flowers from saveoncrafts.com. Most of them were the natural wood color, except for a few that I ordered already dyed orange. {our colors are a peachy orange, gray, and lots of white and blush pink} They cost approximately $.25 each.


2.     There weren't many color options available, so I decided to make my own. I bought a couple of craft paints from Michael's Crafts.


3.     And mixed them into some water in old tupperware dishes. When I first tried, I underestimated the amount of paint I'd need. I kept mixing until it coated the flowers nicely when I dipped them in. I'd say I used about half of each bottle with the amount of water you see below. 


4.      I just held onto them from the bottoms, dipped them in, swished {technical term} them around a bit, and plopped them on some paper towel to dry. I didn't soak them in the paint at all - in fact, I never let go of them, the whole process for each flower took approximately 3.786 seconds.


5.     Aren't they pretty?!?!?!  I'm in love.
6.     Then I pulled out this styrofoam ball. One of the twelve I purchased. We'll talk later about why I'm returning 11 of them...


7.      And I also bought this fun little gadget - a glue stick melter. It's like fondue, for crafters! It's better in theory than in practice, though. When I make the rest of these poms, I'll go back to my trusty glue gun...


8.     Back to the poms. I dipped the ends of the ribbon in the melty glue, and set them on the styro ball. I'd estimate I used about 20 inches of ribbon. Then I tacked it in with some stick pins, just to triple-secure that they won't fall apart if it gets windy on wedding day!! 


9.      Then I started gluing! I used the natural colored, the purchased orange, and my new DIY-dyed flowers in a random pattern. 


10.  Ta Da!!  I'm completely, ridiculously in love with how well this turned out! And how real the flowers look. So much better than silk or other fake blooms....


{oh yeah, and about the styro balls I mentioned returning - it's because they were so large, they took over 60 flowers each to make, and were about 3 inches bigger than I expected. you know, because the flowers add circumference once you add them....clearly I didn't anticipate that. so I'm buying less expensive, smaller ones that will require fewer flowers, meaning this project will cost EVEN LESS!!}

How would you use these fun, wood flowers? In a bouquet? Just like this? What colors would you dye them? 

homework     

Tuesday, April 23, 2013

Vintage Frames - DIY Chalkboard

As we plan for our vintage-styled wedding, we know that we want chalkboards throughout our venue, as signs, welcome notes, and little notes of instruction for our guests.

They'll say things like:  

"Today two families become one, so please choose a seat, not a side."  {near the entrance to the ceremony}
"For your tears of happiness."  {beside a basket filled with vintage handkerchiefs}
"Our love story....."  {alongside the barn door we're using to display a photo timeline}


Ever the DIY-ers, we found some great frames that weren't quite right, and updated them a bit. Here they are Before:


We don't have any in progress photos, but here are the basic steps:

1. Clean, and remove any wires or staples from the back of each frame.
2. Make DIY chalk paint - we use plaster of paris and latex paint. For these frames, we used a grayish white paint.
3. Two coats of chalk paint, and a little distressing with a 220 grit sandpaper.
4. For some chalkboards, we use chalkboard paint on glass, wood, or whatever surface comes with the frame. These ones were empty when we got them, so we bought a sheet of blackboard/chalkboard....board....and cut it to size for each frame. 
5. You could attach the board to the frame in a few different ways. You could use staples, or whatever was in the frame to start with. You could get those little screw-in things that spin, like on the back of Target picture frames. Or...you could glue it. We used Gorilla glue, turned the frames upside down, and put a gallon of paint on them to ensure it set properly overnight.
6. Finish the frame (not the board) with a layer of clear wax. For a little more rustic feel, you could also put on a coat of dark wax!

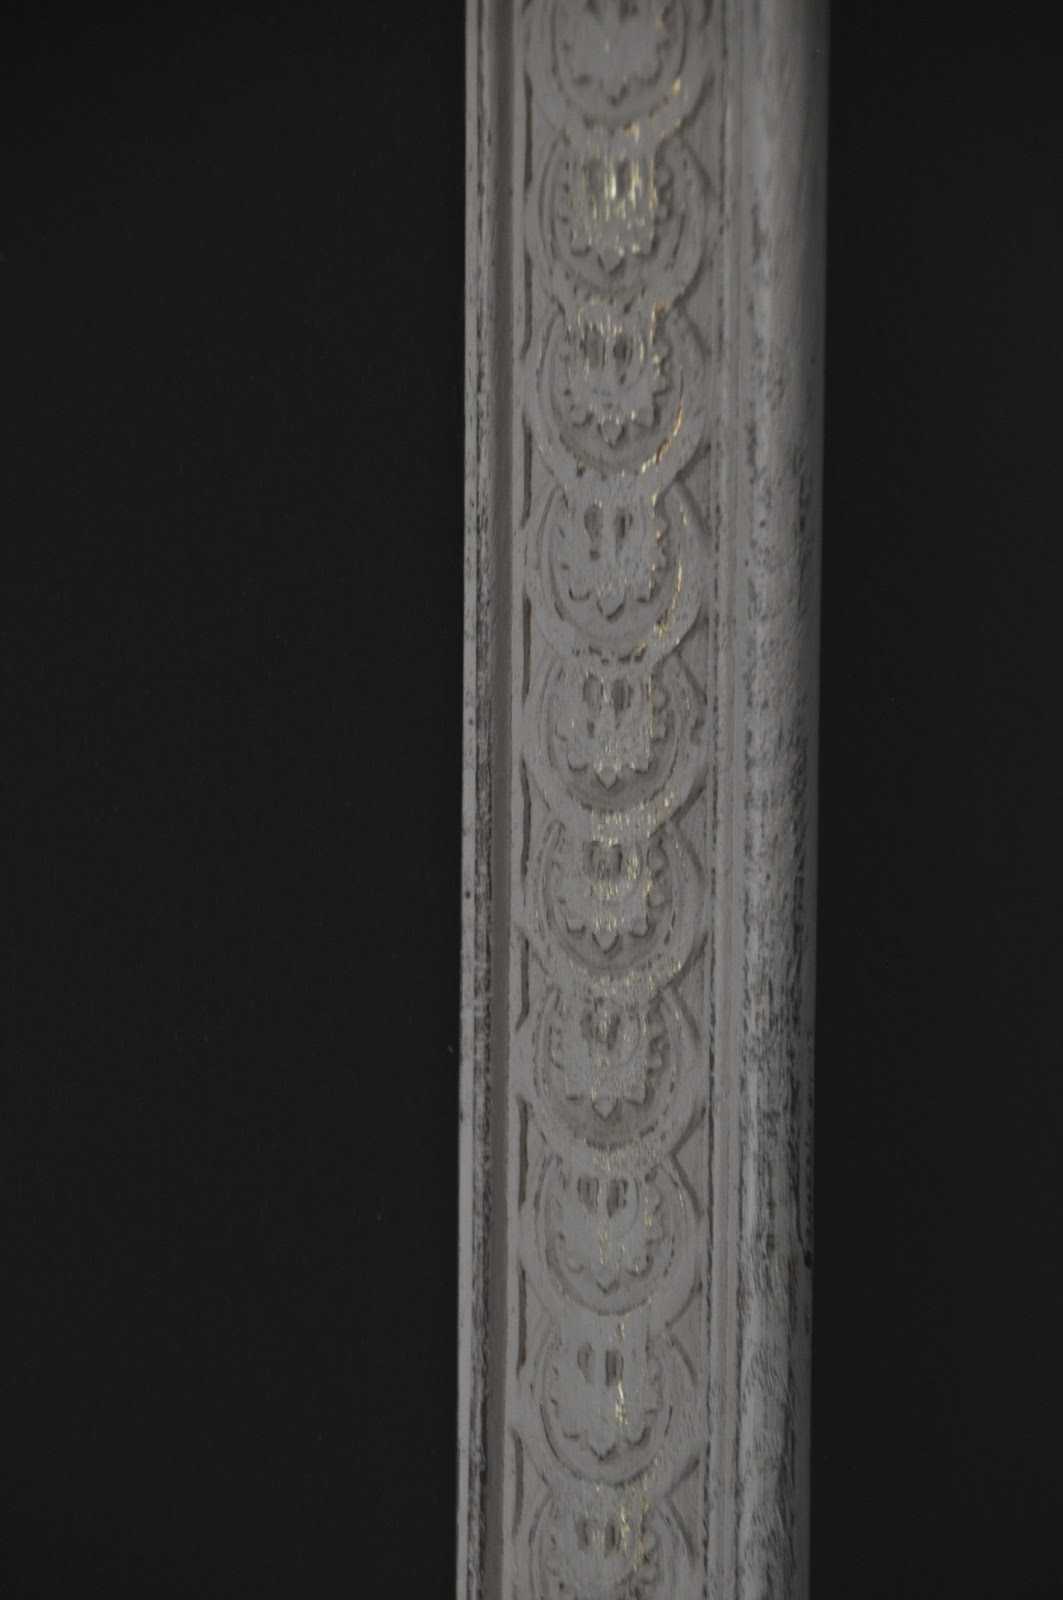
Ta-Da!  Do you love the little bit of gold peeking through the white paint? 


We're so excited to letter these up, we may just have them done months before the wedding!  {yeah, right...along with all of the other projects on the list. something tells me these will be day-before projects...}

Have you ever made a chalkboard? Did you use paint or pre-made chalkboard? What did you use it for - kitchen, menu, wedding, homework, to-do list??  What questions do you have about how we did these ones??


Linking up to: {Primp}, Savvy Southern Style, Vintage on a Dime, Not Just a Housewife