As we plan for our vintage-styled wedding, we know that we want chalkboards throughout our venue, as signs, welcome notes, and little notes of instruction for our guests.
They'll say things like:
"Today two families become one, so please choose a seat, not a side." {near the entrance to the ceremony}
"For your tears of happiness." {beside a basket filled with vintage handkerchiefs}
"Our love story....." {alongside the barn door we're using to display a photo timeline}
Ever the DIY-ers, we found some great frames that weren't quite right, and updated them a bit. Here they are Before:
We don't have any in progress photos, but here are the basic steps:
1. Clean, and remove any wires or staples from the back of each frame.
2. Make DIY chalk paint - we use plaster of paris and latex paint. For these frames, we used a grayish white paint.
3. Two coats of chalk paint, and a little distressing with a 220 grit sandpaper.
4. For some chalkboards, we use chalkboard paint on glass, wood, or whatever surface comes with the frame. These ones were empty when we got them, so we bought a sheet of blackboard/chalkboard....board....and cut it to size for each frame.
5. You could attach the board to the frame in a few different ways. You could use staples, or whatever was in the frame to start with. You could get those little screw-in things that spin, like on the back of Target picture frames. Or...you could glue it. We used Gorilla glue, turned the frames upside down, and put a gallon of paint on them to ensure it set properly overnight.
6. Finish the frame (not the board) with a layer of clear wax. For a little more rustic feel, you could also put on a coat of dark wax!
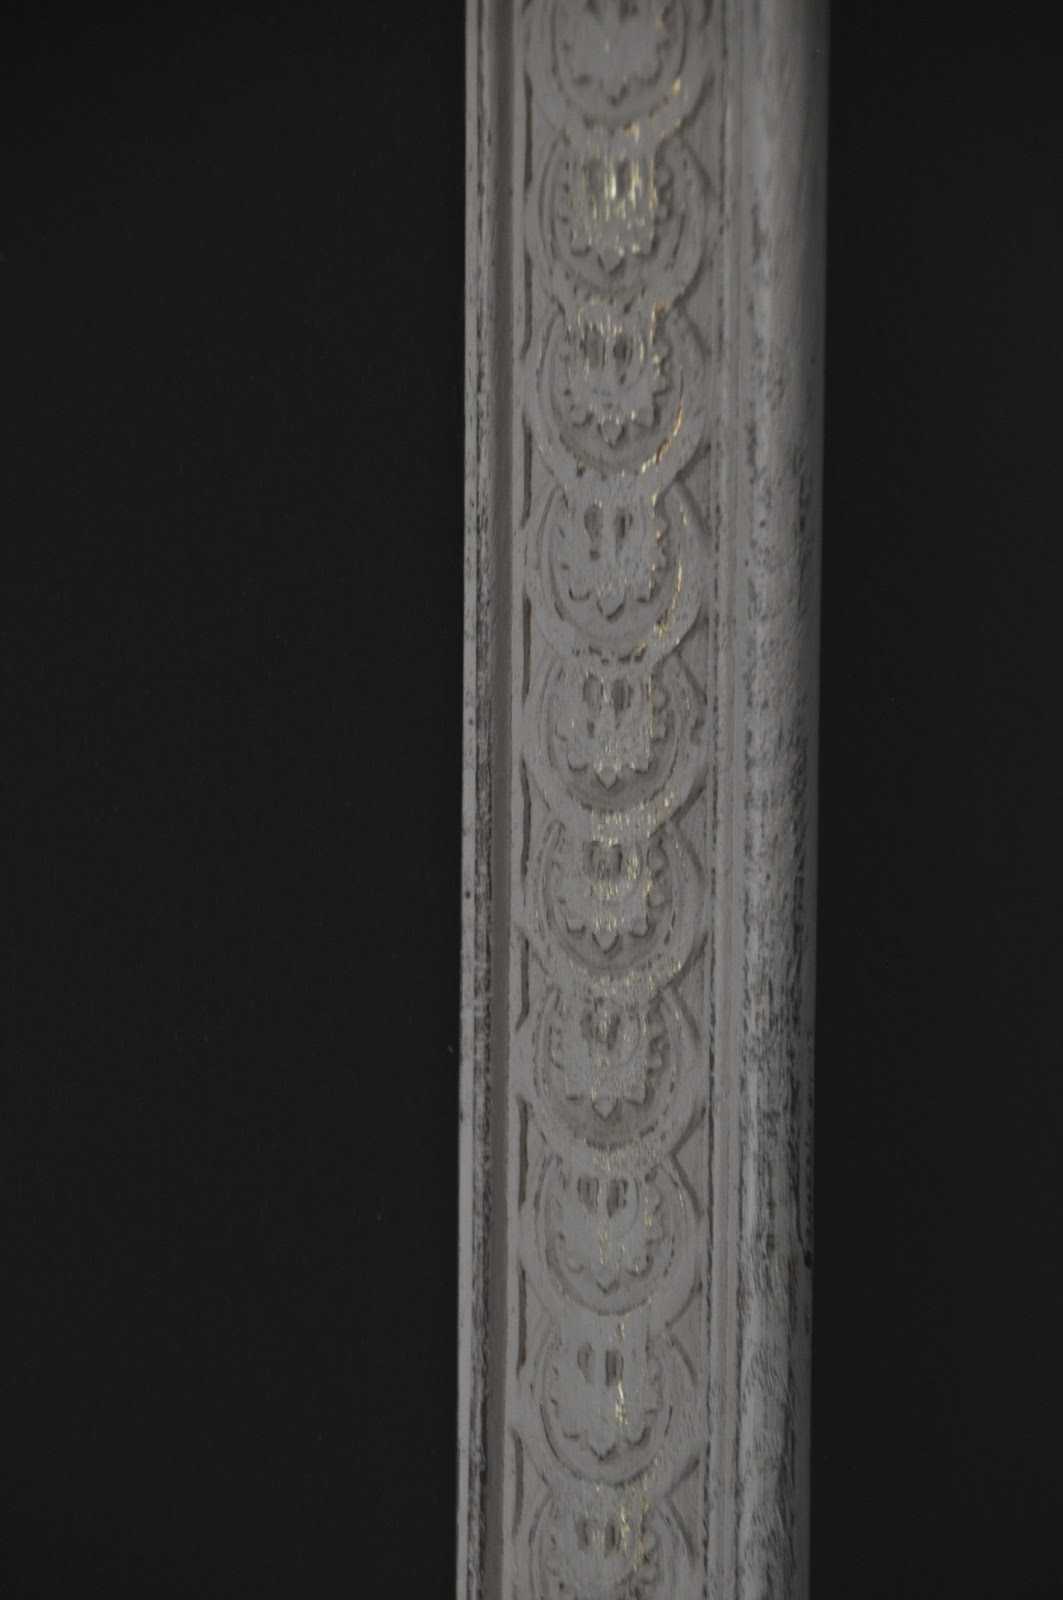
Ta-Da! Do you love the little bit of gold peeking through the white paint?
We're so excited to letter these up, we may just have them done months before the wedding! {yeah, right...along with all of the other projects on the list. something tells me these will be day-before projects...}
Have you ever made a chalkboard? Did you use paint or pre-made chalkboard? What did you use it for - kitchen, menu, wedding, homework, to-do list?? What questions do you have about how we did these ones??
Linking up to:
{Primp},
Savvy Southern Style,
Vintage on a Dime,
Not Just a Housewife,