We recently found this antique filing cabinet. We're not even sure that's the proper term for it - the drawers are about 1" high, and 15" wide. It would be perfect to use for scrapbooking supplies, photography, or jewelry.
It's also stacking. The whole thing is really three separate units. It could all be separated if you wanted, but there's currently a back on it that connects all three units, and makes it incredibly sturdy.
Take a peek:

Friday, April 26, 2013
Tuesday, April 23, 2013
Vintage Frames - DIY Chalkboard
As we plan for our vintage-styled wedding, we know that we want chalkboards throughout our venue, as signs, welcome notes, and little notes of instruction for our guests.
They'll say things like:
"Today two families become one, so please choose a seat, not a side." {near the entrance to the ceremony}
"For your tears of happiness." {beside a basket filled with vintage handkerchiefs}
"Our love story....." {alongside the barn door we're using to display a photo timeline}
Ever the DIY-ers, we found some great frames that weren't quite right, and updated them a bit. Here they are Before:


We're so excited to letter these up, we may just have them done months before the wedding! {yeah, right...along with all of the other projects on the list. something tells me these will be day-before projects...}
Have you ever made a chalkboard? Did you use paint or pre-made chalkboard? What did you use it for - kitchen, menu, wedding, homework, to-do list?? What questions do you have about how we did these ones??
Linking up to: {Primp}, Savvy Southern Style, Vintage on a Dime, Not Just a Housewife,
Ever the DIY-ers, we found some great frames that weren't quite right, and updated them a bit. Here they are Before:

We don't have any in progress photos, but here are the basic steps:
1. Clean, and remove any wires or staples from the back of each frame.
2. Make DIY chalk paint - we use plaster of paris and latex paint. For these frames, we used a grayish white paint.
3. Two coats of chalk paint, and a little distressing with a 220 grit sandpaper.
4. For some chalkboards, we use chalkboard paint on glass, wood, or whatever surface comes with the frame. These ones were empty when we got them, so we bought a sheet of blackboard/chalkboard....board....and cut it to size for each frame.
5. You could attach the board to the frame in a few different ways. You could use staples, or whatever was in the frame to start with. You could get those little screw-in things that spin, like on the back of Target picture frames. Or...you could glue it. We used Gorilla glue, turned the frames upside down, and put a gallon of paint on them to ensure it set properly overnight.
6. Finish the frame (not the board) with a layer of clear wax. For a little more rustic feel, you could also put on a coat of dark wax!
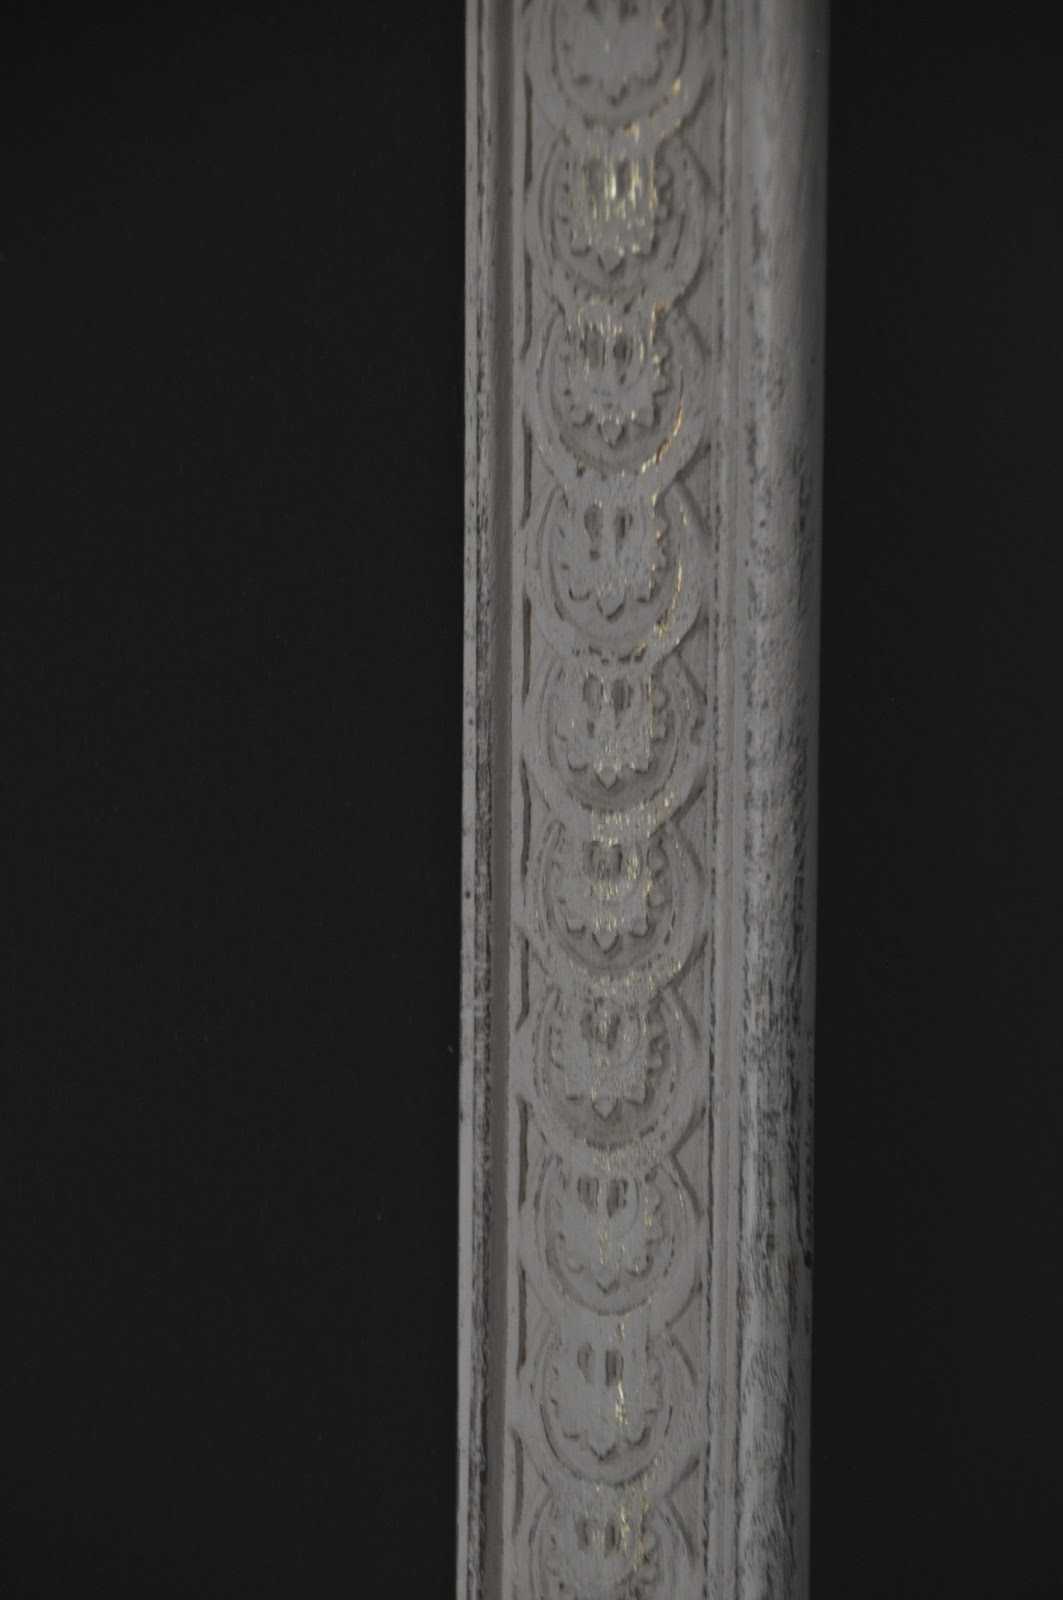
Ta-Da! Do you love the little bit of gold peeking through the white paint?


Have you ever made a chalkboard? Did you use paint or pre-made chalkboard? What did you use it for - kitchen, menu, wedding, homework, to-do list?? What questions do you have about how we did these ones??
Linking up to: {Primp}, Savvy Southern Style, Vintage on a Dime, Not Just a Housewife,
Saturday, April 20, 2013
A Two-Tone Furniture Craze.
I'm going to hell. The special place reserved for people who willingly take away the natural beauty of a {nearly} pristine piece of antique furniture. I painted a dresser that didn't need paint. Here is what I keep telling myself to justify my sins: "It was just sitting there, all lonely in the store, with no one to take it home and love it. You were just helping it find a home."
It's true. And perhaps I feel slightly less guilty because this painted piece looks absolutely incredible. Different from some of the other styles we've done, it's a little chippier, a little more distressed, and a lot more full of character!
We're on a two-tone craze with our furniture these days. Chad picked out the colors/design on this guy - it's similar coloring to the primitive piece we use at home as our TV stand. The lines were so different than our own piece though, that I wasn't sold on the color choices. But, because I love him, and I realize that sometimes my ideas aren't the ONLY good ideas, I went with it. Aaaaaaand, I love it. We love it. It's perfect, and amazing, and beautiful, and I want to keep it. We need a bigger house.
I didn't take any before shots. Trust me, you don't want to see them. Just know this: There was some slight veneer chipping all around. One of the drawer fronts had a crack through the veneer, and at one point, the entire side of this guy was repaired, and the innards of the bottom drawer replaced. Yes, I'm still justifying....
Without further ado, here he is:


He's painted in our own specially-created version of turquoise {color matched to a clock we bought to match our favorite custom-made curtain panels}, a creamy grayish-white on the drawers, and all finished with clear and dark wax to seal it up and make it buttery soft and smooth.
Do you love the two-tone look as much as we do? What color combos would you like to see on an old empire-style dresser in the future?
Wednesday, April 10, 2013
Handmade in Minnesota. We Love Local!
Each month, we bring in more and more handmade products. While the majority of our store is vintage, antique, or repurposed, we also love to support local artisans. And by "local" we mean Minnesota-based. Many of our in-house dealers make handmade items of their own to sell at the store. Others come from folks who specialize in a particular craft, and we work with them to provide specific products for the store.
Here are just a few of the handmade items carried at Carver Junk Company:


Here are just a few of the handmade items carried at Carver Junk Company:


What other handmade items would you like to see at Carver Junk Company? We're always looking for inventory suggestions!
Subscribe to:
Comments (Atom)