Showing posts with label recycling. Show all posts

Friday, February 21, 2014

Miss Mustard Seed Milk Paint. About it. About us. About our workshops.


We were ecstatic about being selected as a Miss Mustard Seed Milk Paint Retailer last year, and now we're even more excited to be able to offer Milk Paint Workshops to our customers. We've only been selling the product for two months, so we know a lot of you might not yet be familiar with it.

We'll let you in on the big secret, and your home painting projects may never be the same again! {you're welcome.}  


WHAT IS MILK PAINT?


"Milk Paint is an ancient all-natural paint containing basic ingredients including milk protein (casein), limestone, clay and natural pigments. When absorbed into the surface, Milk Paint will never chip or peel when applied to a raw wood surface. It is suitable for both interior and exterior applications and is naturally mold resistant. Milk paint provides a completely breathable coating and is ideal for painting wood, plaster, drywall and a variety of other surfaces.  It is environmentally friendly, non-toxic and contains no VOCs.
With the Milk Paint Bonding Agent you can use Milk Paint on even more surfaces such as previously painted walls, varnished surfaces, ceramic tiles, metal, glass etc.  Without the bonding agent, Milk Paint will resist some prefinished or prepainted surfaces to achieve an authentic “chippy” look."  {thanks for the perfect description, Miss Mustard Seed}


WHAT ARE VOCs?


WHY DID WE CHOOSE MILK PAINT?

1.  SAFETY:  The biggest reason we chose to start using and selling Miss Mustard Seed Milk Paint is because it's completely natural and contains zero VOCs. While we have a workshop with great ventilation, we sometimes like to bring furniture right into our living room, and paint while we watch TV. We'd been mixing our own chalk paint previously, which admittedly worked great, and was quite inexpensive. But even when we used low-VOC latex paint as the base, it didn't feel good to be painting with it inside. Then, when we found out we had a baby on the way, we made an immediate lockdown on all the chemical products we use in our house {yes, we now realize we should be just as concerned about our own health, but it was a good instigator...}

2.   VERSATILITY:   There are dozens of potential ways to use milk paint, but the primary five are to use it as a stain on raw wood, as a "wash" over wood or another paint color, as an all-over solid color, with a chippy finish, or for a crackle finish. These techniques, combined with the variety of finishing products, make this one of the most versatile paints we have ever seen! 

3.   COLOR CHOICES:   With 18 different colors available in Miss Mustard Seed Milk Paint, there is sure to be a paint for everyone's style. The colors are all natural, and reminiscent of primitive, farmhouse-style pieces. However, using the techniques listed above, they can also be very modern. {Have you checked out Target, West Elm or Pottery Barn lately? They are full of colors that look like Mustard Seed Yellow, Kitchen Scale, and Apron Strings}.  And what's even better? The paints can be easily mixed to create your own custom color. Many retailers even have "signature" colors that they have discovered along the way....be on the lookout for a Carver Junk Company "signature color" contest early this year!

4.   THE FEEL:   This might sound ridiculous, but stop in the store sometime, and just touch one of our milk painted pieces. They're smooth.....like butter. I seriously can't stop touching them...every time I walk by - don't worry, I wash my hands often. There is not another finish like this available with any other products. 

5.   THE SMELL:   Take a workshop with us.  In our small, enclosed, unventilated workshop studio.  We BET you won't even notice the smell. Try that with ANY other paint products, we dare you.  I mean, really, the wax products in the Miss Mustard Seed line smell GOOD. Like suntans and lavender. Like good, natural stuff should.

Yep, we drank the kool-aid. We love this stuff. And we'll be honest with you about where it might or might not work for you projects - cause we want you to love it, too.


HOW DO I USE MILK PAINT?

Stop into the store. We'd be happy to chat with you, cover the basics, and send you home with a How To Guide and the confidence to start your projects. Pick up a couple of our sample packs of paint {they each cover a couple of picture frames, a small box, or other table-top item}.   

Still not sold? Want to know more? Want to learn the basic techniques? Sign up for one of our workshops. We currently have a few Milk Paint 101 workshops scheduled, and plan to add more plus more advanced workshops in the next month or so. We'll also add some special, seasonal-type, workshops too - think Spring, Mother's Day, etc.

You can check out our workshop dates/times/details here: 
https://www.facebook.com/CarverJunkCompany/events

Stop in and check out the paint display in the Carver store - we'd love to chat more about it, help you choose some products, and we LOVE to see your finished projects as well {perhaps we'll beg you to do a feature of your finish project on the blog....}

Recycle. Repurpose. Relove.
Carver Junk Company


Monday, August 12, 2013

CJC Wedding and Event Decor Rental

We're excited to share the news that Carver Junk Company will now be offering decor rental for weddings and events! True to our vintage, rustic, repurposed style, our rental items are great options for weddings, baby showers, bridal showers, birthday parties and many other events that have a unique, vintage flair.

Here is a little preview of just a few of our rental items:


Check out the link on the right side of the page (Wedding and Event Rentals) for many more items, quantities, and pricing! And, as always, we are happy to hunt down something special for you that may not be on the list - just ask!

Are there any special items you are looking to rent or purchase for your big day? For some other event? Let us know in the comments below!

Wednesday, May 8, 2013

A Mid-Century Mess made Modern! Chairs get a Re-do.


I found four of these mid-century chairs when we were out shopping a few weeks ago. SCORE!  Ok, my first thought was, "no WAY these are going anywhere near the house." The fabric was absolutely disgusting. As in, I should have worn rubber gloves to take them apart.

We hauled them home on the trailer, and put them in the garage. Then immediately scrubbed our hands.


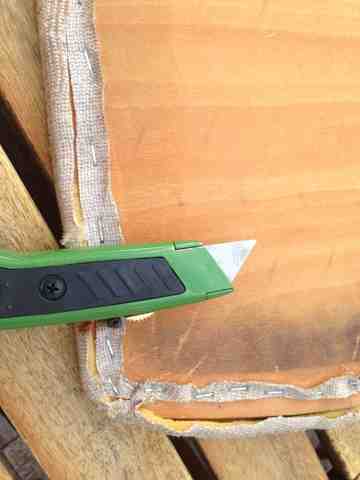
 I disassembled them and, yes, cut right through that nasty old fabric.


The backrest of the chairs was a different style than I've upholstered before, but luckily wasn't too tricky once I looked at the way it was done previously.


Basically, you just staple right into the bottom side of the backrest, wrap the fabric around, fold it over so you get a nice finished edge, and staple right back along the bottom. Then, staple the sides, leaving room for the hardware holes to secure it back to the chair frame.


Here is the chair with just the seat cushion completed. I'm loving this fun fabric. It lends even more "modern" to the Mid-Century Modern style of the chairs. And after what they've been through in their lifetimes, they deserve a little love and excitement.


Excuse the crummy iPhone photos - I'll stage a better shot in the house, and upload when I have time. One down, three to go - I can just picture these around a white pedestal-base table, or tulip-style table. Or, for something even more dramatic, a round black table. 


Where would you put them?  Have you done any chair makeovers? What's the hardest thing you've reupholstered?


Linking up to: Savvy Southern Style, Lady Behind the Curtain, Polka Dots on Parade,

Tuesday, April 23, 2013

Vintage Frames - DIY Chalkboard

As we plan for our vintage-styled wedding, we know that we want chalkboards throughout our venue, as signs, welcome notes, and little notes of instruction for our guests.

They'll say things like:  

"Today two families become one, so please choose a seat, not a side."  {near the entrance to the ceremony}
"For your tears of happiness."  {beside a basket filled with vintage handkerchiefs}
"Our love story....."  {alongside the barn door we're using to display a photo timeline}


Ever the DIY-ers, we found some great frames that weren't quite right, and updated them a bit. Here they are Before:


We don't have any in progress photos, but here are the basic steps:

1. Clean, and remove any wires or staples from the back of each frame.
2. Make DIY chalk paint - we use plaster of paris and latex paint. For these frames, we used a grayish white paint.
3. Two coats of chalk paint, and a little distressing with a 220 grit sandpaper.
4. For some chalkboards, we use chalkboard paint on glass, wood, or whatever surface comes with the frame. These ones were empty when we got them, so we bought a sheet of blackboard/chalkboard....board....and cut it to size for each frame. 
5. You could attach the board to the frame in a few different ways. You could use staples, or whatever was in the frame to start with. You could get those little screw-in things that spin, like on the back of Target picture frames. Or...you could glue it. We used Gorilla glue, turned the frames upside down, and put a gallon of paint on them to ensure it set properly overnight.
6. Finish the frame (not the board) with a layer of clear wax. For a little more rustic feel, you could also put on a coat of dark wax!

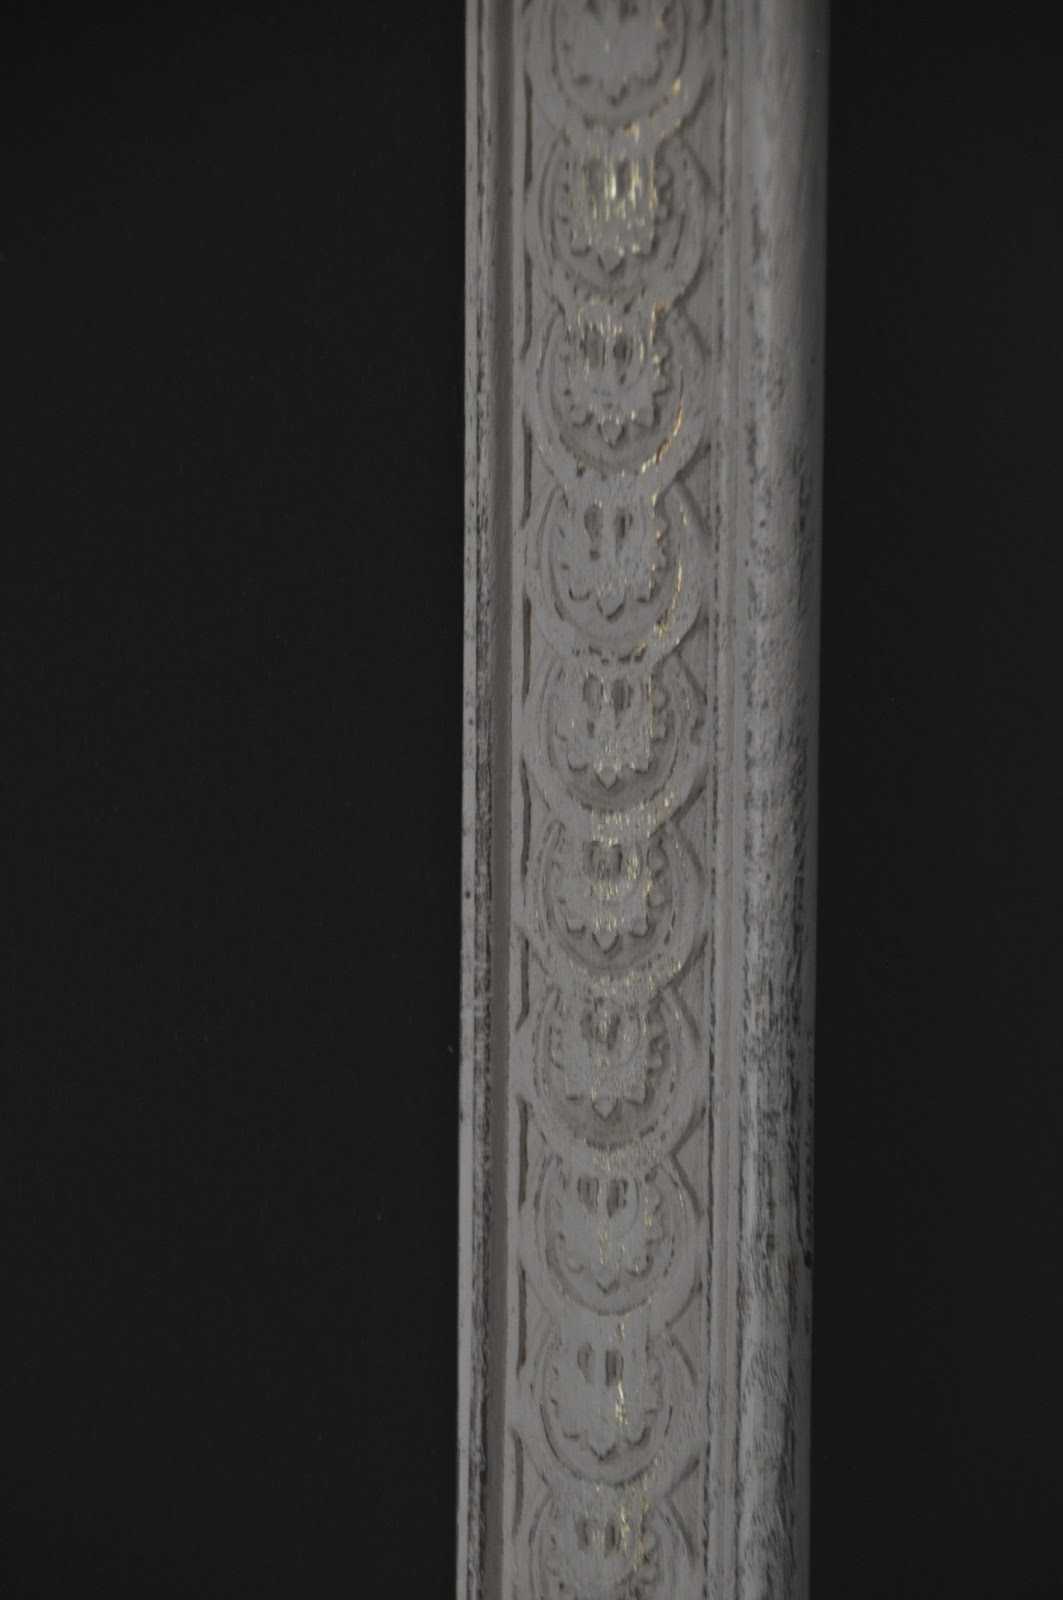
Ta-Da!  Do you love the little bit of gold peeking through the white paint? 


We're so excited to letter these up, we may just have them done months before the wedding!  {yeah, right...along with all of the other projects on the list. something tells me these will be day-before projects...}

Have you ever made a chalkboard? Did you use paint or pre-made chalkboard? What did you use it for - kitchen, menu, wedding, homework, to-do list??  What questions do you have about how we did these ones??


Linking up to: {Primp}, Savvy Southern Style, Vintage on a Dime, Not Just a Housewife, 

Friday, January 18, 2013

Instagrams from January Sale!

A quick update - if you're looking for info on this month's sale:  We are open Thursday - Saturday January 17, 18, 19 from 10:00 AM to 4:00 PM.  We are located at 300 Broadway Street, Lower Level   Carver, MN  55315. And, as always, we'll be open by appointment between sales!  We hope to see you!

Here are some Instagram photos from our January sale:


Friday, December 21, 2012

French-Kissed - A Little Dresser Before and After

French kissed. Clever, huh? Maybe that's what we should call our new paint color creation, which we mixed up just for this french provinicial-style dresser we madeover last weekend. Or...maybe we should stick to junking, and painting....and not clever-blog-title-writing....

Here's her before {oh, and don't ask how I decide which furniture pieces are "he" vs. "she" - I just use whichever seems right at the time...in this case, she's curvy, flirty, and just downright pretty. So, she's a "she."}

Before: Pretty good shape. Clean. Boring (please don't be offended if you love her Before. she hung out in the store for 3 months in her Before state, and no one loved her enough to give her a new home).


After.  Homemade chalk paint, mixed with our own version of Tiffany blue paint (now known as French Kissed), and white painted hardware. Two coats of paint, a couple coats of wax, and she's officially made-over!


Within an hour of posting on Facebook, she was sold! She never even made it back to the store, but we're so happy she's going to a 9-year old girl. What an awesome Christmas surprise! {though we're sure this was just an add-on to the rest of her more typical 9-year old gifts!}

Have an awesome pre-Christmas weekend. Happy Holidays from our family to yours.


Linking to:
http://www.sugarbeecrafts.com/2013/04/take-look-tuesday_22.html?m=1
http://www.salttree.net/2013/04/salttree-social-51.html?m=1

Tuesday, December 18, 2012

A New Space for a New Year!

Exciting news: {drumroll please.....}       We're Moving!

If you follow us on Facebook, you may have already seen the announcement, but here are some more details.

Tuesday, November 27, 2012

The Coffee Table that started it all....

I honestly don't even remember how we heard about The Occasional Shops of Carver and Chaska. The first time I stopped into one of them was sometime between the offer being accepted on our new house, and the closing - I was coordinating fence estimates, noticed that Mustard Moon was open, so I stopped in. I spent so much time there, I never made it to the other shops before they closed that night!

At Mustard Moon: I immediately walked in, and was struck by the mix of industrial, primitive and rustic - they had things that would have been perfect for our old home's vintage-industrial-bar search {more on this some other day}. And then....this awesome, chippy, primitive-but-not-quite-shabby-chic-because-that's-too-country-for-my-taste cabinet that had been laid on it's back - effectively making it a huge square coffee table with tons of storage under the lid-slash-door. And it was white, and neutral - in my mind, a perfect fit for our new house....and at $70, I couldn't imagine finding anything better.


What you can't see is that it's on this little wheelie cart thing that makes it super practical, and mobile, and just the right height!

Seriously, imagine all the storage possibilities in this piece! Blankets, board games, crafting materials, all of the 85 remotes that normally live on top of the coffee table....

Of course, I had to get Chad's ok (we try hard to operate as a team when it comes to decorating our house), and Jane agreed to hold it for me until the next day. SCOOOOORE! We spent that evening with a couple of good friends, and the topic of our future coffee table came up. I showed them the terrible iPhone photo I'd taken, and then we discussed Chad's idea of the *perfect* coffee table - a restored antique railroad cart. Of course, the only ones of those we'd seen had been priced well over our budget - usually $500 or more!  (these have been big in the Room & Board and Restoration Hardware worlds recently)


The inspiration for Chad's vision of our future coffee table - this $995 railroad cart from Restoration Hardware.

Saturday: We started at Dunn Bros in Chaska - our lives are fueled by caramel lattes and white chocolate mochas. Neither of us had been to any of the Chaska shops, so we started with Linda's Cellar. It was a lot bigger, brighter, and reminded me more of a normal antique store than did Mustard Moon. We wandered through, looking for a potential bar cart/shelf for the new house, and then....at the back of the shop....was an old, dirty, antique railroad cart. It was priced at $375, which was still well above our budget, and much, much more than the cabinet-slash-coffee table that was still on hold for me at MM (which Chad STILL had not seen in person). At this point, he was ready to make the impulse purchase, and take that railroad cart home!  {Admittedly, it was cool....but I was still so excited about MY find....and I couldn't get over the cost.}

I convinced him that we should look through the rest of the stores, so we proceeded through LaLa Land and Southern Charmed. We commented on all of the Pinterest-inspired re-uses of items, the awesome refurbishings, and the downright old, cool items. We chatted with the ladies at Southern Charmed, who informed us it was their first month, and they were loving it!  (do you see where this is going yet??)

ON TO CARVER!  I was so excited to check out all of the places that would be in our new hometown! We stopped immediately down in Mustard Moon, and Chad was as in love with the place as I was...incredible. We looked at the cabinet-slash table, but he wasn't sold, and I grudgingly agreed to keep looking for something that would light a fire under us both. Bugger!

As we wandered through the rest of the shops, we talked about how fun all of the "finds" were. I am sure we bought a few things, though I couldn't tell you now what they were. We joked about how we would love to do something like this, if we could ever afford to quit our jobs. Ha! (ok, seriously, can you see where this is going?)

Back to Chaska, we reasoned with ourselves (aka - justified our now slightly-more-thought-out-therefore-not-an-impulse-purchase) that if we bought the railroad cart, put in a little elbow grease and refinished it, we could sell it for nearly twice what we paid. Not that we would, but...that if we regretted our impulse purchase, we COULD if we wanted to. Yeah, right.  Linda called the seller, and we ended up getting it for just over $300. Oh, that little taste of bartering...I think it's fair to say it's turned me into a negotiating monster. In a good way, of course.


The "Before" of our Railroad Cart Coffee Table....stay tuned for progress shots, and the "After!"
At the end of the day, we got a coffee table that we both loved. Check out our next post for a step-by-step of the refinishing, and a before-and-after of our coffee table! It felt like such a natural thing to refinish it, that we started looking for other items we could do the same with...I even started a Pinterest board called "My Refurbished Junk Store" after visiting the shops. The best part? This was 6 WEEKS before we saw the For Lease sign in the window of our current shop. We had no idea the hand that was about to be dealt us.....

******************************

UPDATE! In yet another strange, surely-this-means-it-was-all-meant-to-be turn of events, two things have happened SINCE I drafted the post above. Really, I'm not kidding.

1. We happened upon a graveyard of old railroad carts, that has given us a nearly endless supply of carts to refinish and put into our shop for others to enjoy. Coincidence? I think not.

2. We have signed the lease for 300 Broadway Street in Carver. The significance? It's the former Mustard Moon space that we fell in love with so many months ago.

******************************

Do you have any crazy single-event-turned-life-changer stories?  How did you get into junking?